Congratulations! You’re about to conclude your first real estate purchase: the promise to purchase has been accepted, conditional on the results of the inspection.
In a nutshell, this means that you can withdraw your offer if significant or expensive problems are discovered or, alternatively, negotiate a lower price.
The Building Inspection Isn’t Mandatory, But…!
Although prepurchase inspections aren’t mandatory in Quebec, they’re strongly recommended. An inspection is the best way of ensuring you’re fully aware of all the property’s specific characteristics before you buy. The buyer pays for the inspection, and it usually costs between $500 and $700.
An Inspection Has Its Limitations
Nevertheless, it’s important to understand that the inspection process isn’t infallible. Building inspectors
- can’t open walls to check that all elements comply with standards or that all materials are watertight;
- can’t inspect certain components that fall under the scope of a specialized trade, such as the electricity;
- may be prevented from properly inspecting particular areas due to limited access or an obstacle. In this case, they must note in their report that some aspects couldn’t be inspected.
However, a building inspector can identify signs of irregularities that a qualified expert should look into next.
Before the Inspection
1. Schedule an Appointment (Several Days in Advance!)
The first step, of course, is to schedule an appointment with an inspector. It’s best to start making calls as early as possible—as soon as the seller has accepted the promise to purchase in fact—giving the inspector at least a two-week window. And don’t just randomly pick someone: to find a qualified professional who can meet your expectations, follow our guide.
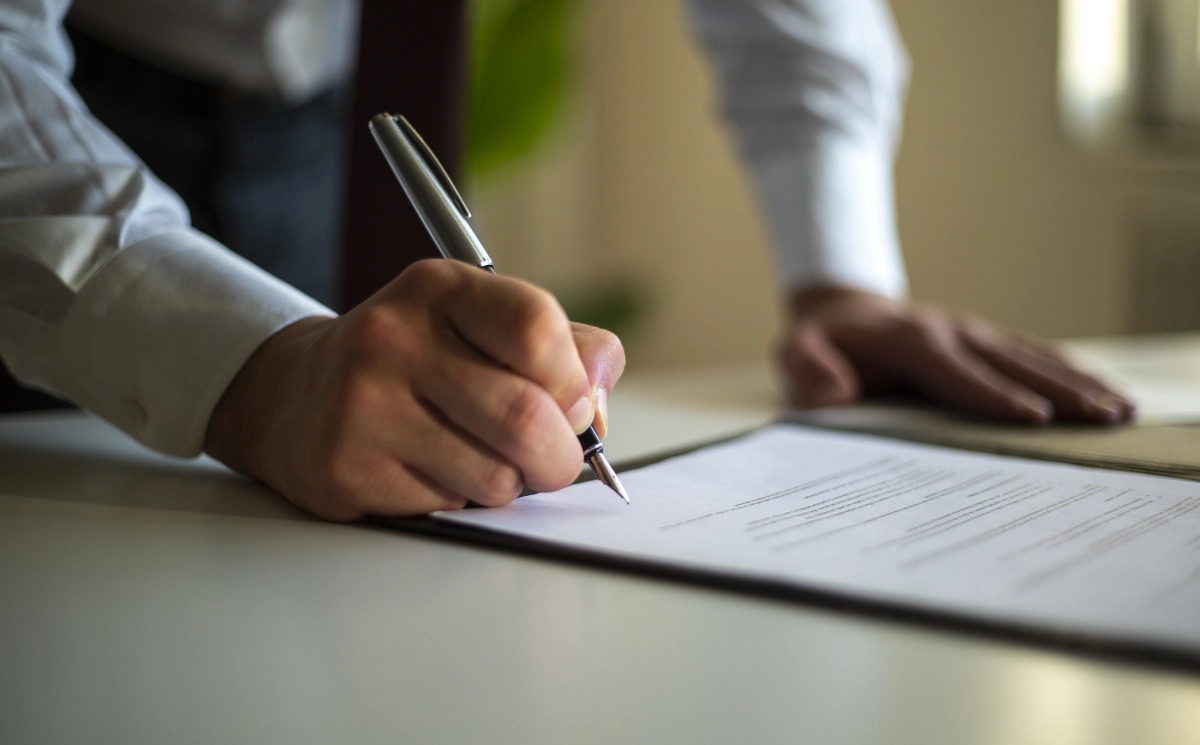
2. Sign the Documents
Well before the big day, the buyer must have signed and returned all the documents the inspector has sent them, such as agreements or the service contract. The schedule won’t allow for dealing with this paperwork on site. Everyone wants to dedicate as much of the allotted time to the inspection as possible!
3. Receive the Declarations by the Seller
The seller also has tasks to fulfil to ensure the inspection proceeds smoothly. A few days beforehand, they must furnish the Declarations by the Seller. A good inspector will have reviewed it before arriving on site, so that they have all the relevant information they need to carry out their job.
Generally, the seller fills out the Declarations by the Seller with their broker’s assistance. This document, which outlines the property’s history (past damage, renovations, etc.), is crucial to the inspector’s work.
4. Receive Invoices and Proofs of Work
In order to conduct an effective inspection, the inspector must have certain documents to hand: the invoices proving that the repairs or renovations indicated in the Declarations by the Seller were effectively carried out as well as any relevant warranty papers.
The Day of the Inspection
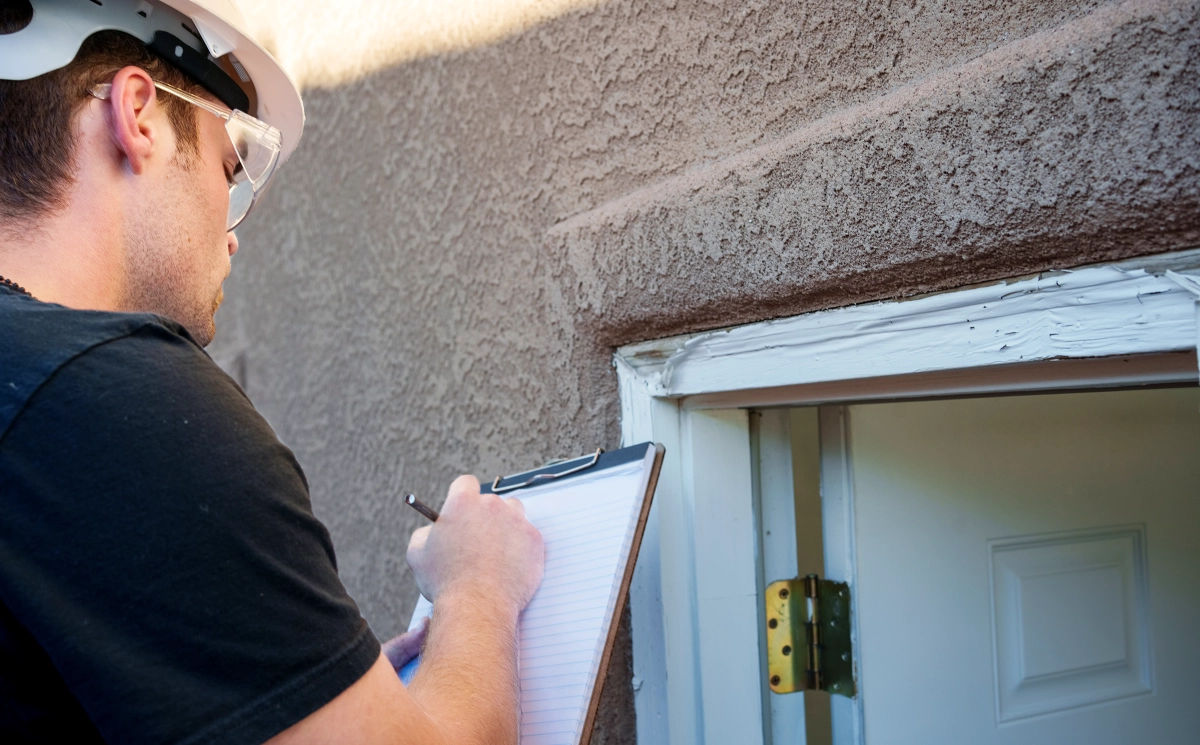
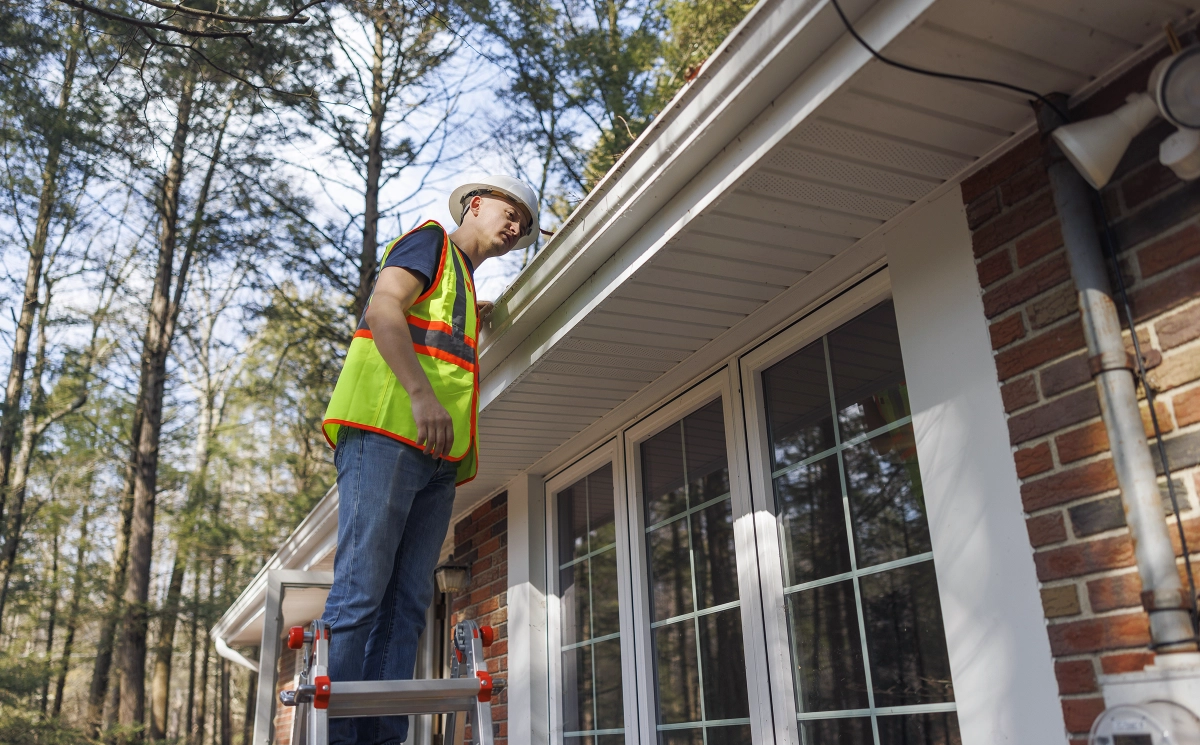
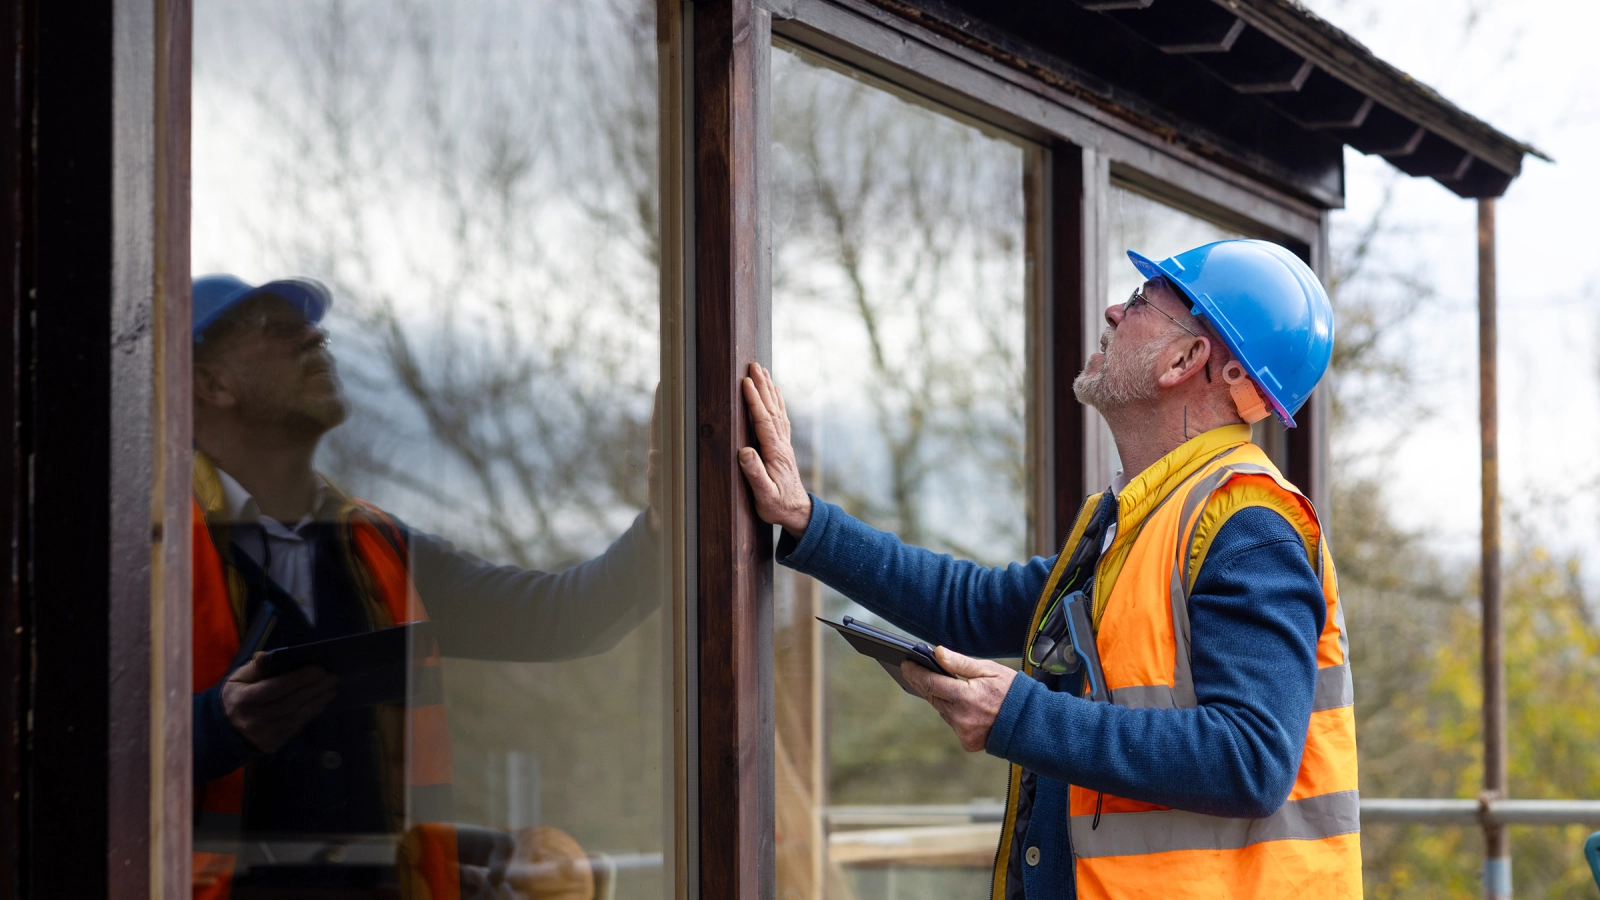
1. A First Cursory Visual Inspection of the Exterior
The inspector can start identifying potential issues (any unusual signs that could point to problems) by walking around the residence’s exterior. They’ll need to make a few rounds to get a full picture and take all necessary photographs. Most inspectors choose to arrive 45 minutes to an hour before the appointment in order to complete this step with calm focus.
2. The Client and Broker’s Arrival
Then, at the appointed time, the broker and the client (the buyer) arrive on site. It’s important to note that the buyer must attend the inspection.
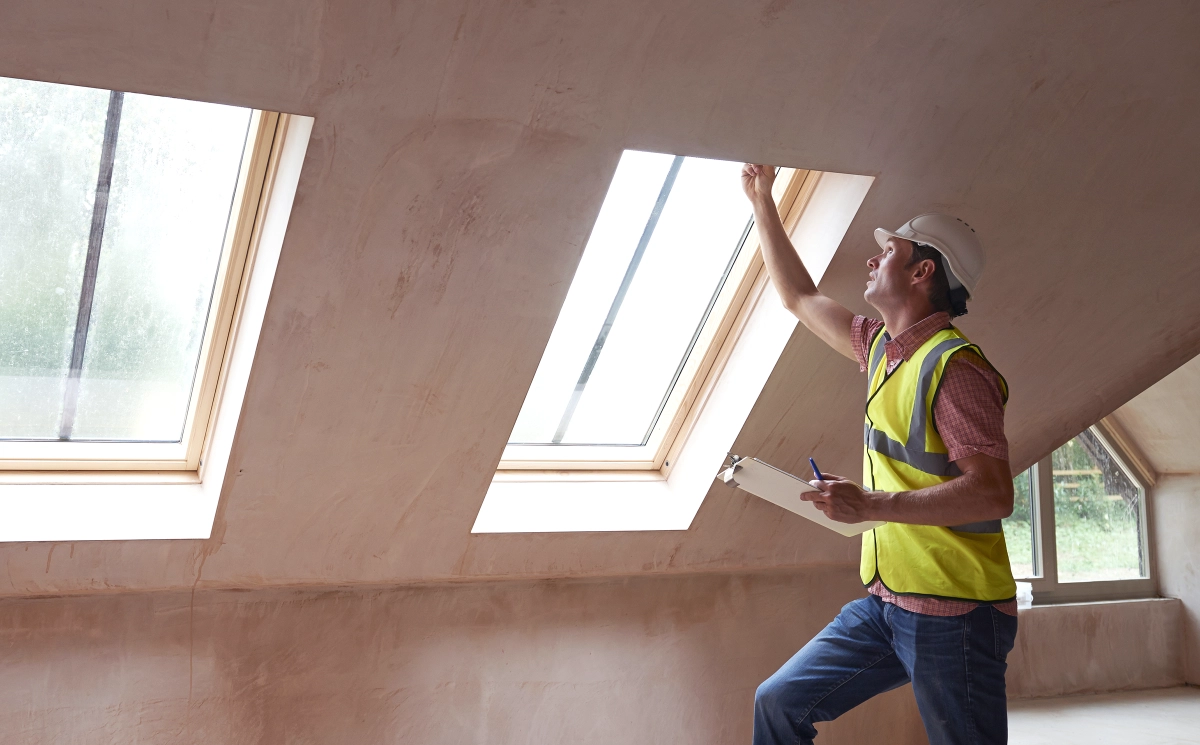
3. From the Basement to the Attic
Once everyone has shaken hands, the inspection can truly begin. It usually starts outside, then proceeds from the basement all the way to the attic. “As the inspection progresses, the client follows the inspector, but without interfering or slowing the process down. It’s important that the client remain alert and attentive, as the inspector will be talking a lot about their observations. The client should feel free to ask questions throughout the visit.”
4. Unanswerable Questions
But some questions aren’t always appropriate to ask during an inspection! Clients must understand that this professional has to remain impartial and only state the facts they observe.
Inspection day can be a very emotional experience for the buyer, and we get it. It’s a big purchase. But as an inspector, we can’t answer questions like: Do you think this balcony needs to be demolished? Would you buy this house? Do you think the price is too high?
Building inspector
Similarly, they can’t provide a price estimate for repairs or make assumptions about things that haven’t been thoroughly checked.
5. Payment and Signature
At the very end of the inspection, the inspector will present a verbal report of what they’ve observed and reiterate the most relevant findings, such as possible problems with the foundation, water infiltration, mould. They will also ask the client to sign a document certifying that they have been informed of these various issues. The appointment concludes with payment for the service. The buyer now simply waits for the report, expected within the next few days.
When Will You Receive the Report?
It should take 48 to 72 hours for the inspector to complete and submit their report. As the client, it’s your duty to read every section carefully and contact the inspector if you have any questions. In any case, your broker can help clarify anything you don’t quite understand. For more information about what an inspection report contains, consult our article!
How Long Is an Inspection?
It varies! But as a general rule, for an average-sized house with no special features, it shouldn’t take more than 90 minutes. An inspector will need longer to inspect a more complex building (heritage home, commercial space, etc.). Experience plays a role as well: the greater familiarity the inspector has with the type of property being inspected, the faster the process.
Is There a Better Time of the Year for an Inspection?
Each season comes with its share of pros and cons, but an inspection remains a key step, regardless of if it’s conducted under less-than-optimal conditions.
In Winter:
Snow can cover the foundation, roof, and structural elements such as balconies, hindering the exterior visual inspection. Conversely, a thermography inspection will reveal heat loss, water infiltrations, air leaks, and thermal breaks—an unusable technology in summer!
Under Heavy Rain:
While unpleasant, intense rain can in fact help the inspector spot any water leaks or ground that slopes towards the house.
A Reminder of the Buyer’s Responsibilities Regarding the Inspection
- Attend and arrive on time.
- Sign the service contract and all other documents prior to the appointment.
- Ask questions throughout the inspection, keeping in mind that the inspector must remain impartial.
- Carefully read the report, paying particular attention to elements that couldn’t be inspected as well as those requiring a specialist’s expert advice.
- Make sure you understand the terms used in the report and contact the inspector if you need clarifications.